Documentation
Submit
Description
If a developed library is to be offered in the Module Store, this must be submitted via the developer area on the account page .
Developer area
The developer area can be accessed on the account page under "developer area".
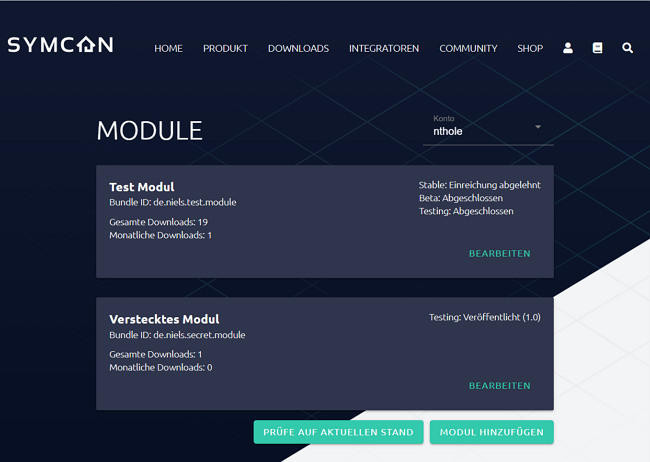
All previous submissions are listed here. The number of downloads as well as the state of the individual channels is displayed here. With the "Edit" button a module can be adjusted. The button "Check up to date" automatically checks which modules are currently at the state of the newest commit of its main branch. This function is only supported for GitHub repositories. For a bigger number of modules correspondingly many requests are made towards the GitHub API, which could become exhausted if the account from the personal area is not connected with a GitHub account. If the account is connected to GitHub, the limit is significantly increased. New modules can be prepared for submission using the "Add module" button. If your own account has been granted access to other accounts, the submissions of these accounts can be checked and edited by selecting "Account".
Add module
After clicking on "Add module", a dialog appears in which a Bundle ID and an initial channel can be selected.
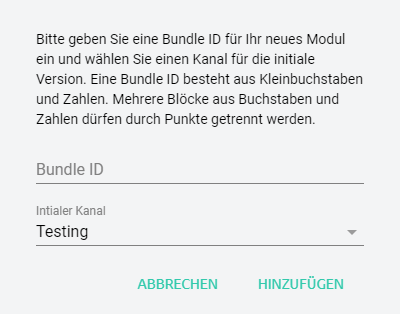
The Bundle ID is a unique ID, which remains the same for new versions, and consists of lowercase letters and dots. It is recommended to use the reverse domain notation, e.g. de.symcon.alexa. The initial channel is the channel for the first submission. Additional channels can easily be added later.
Submit module
Under "Edit module" one can check the current status according to channels and prepare the next submission.
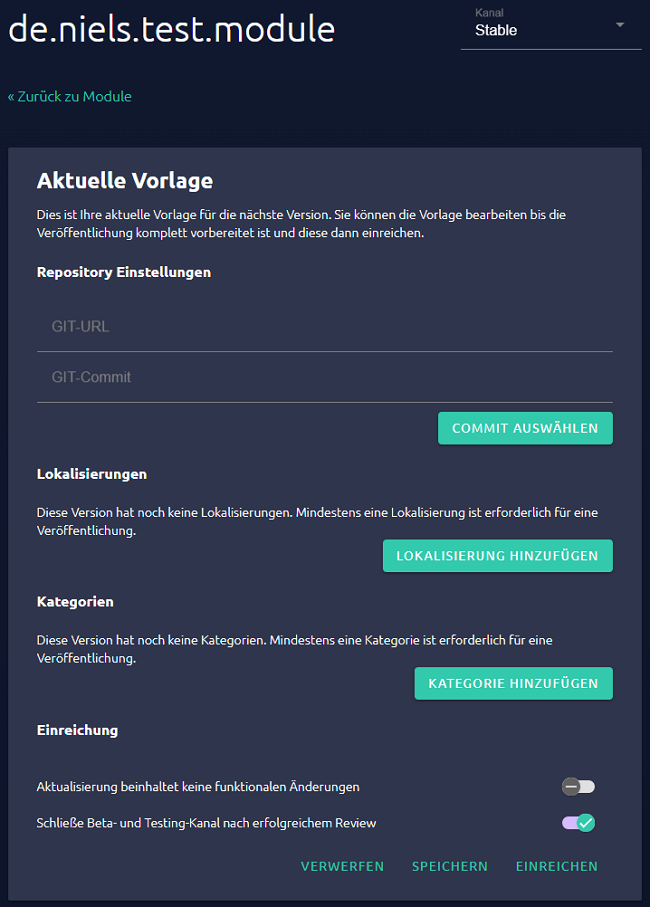
The address of the Git repository under which the current library can be found is entered under GIT-URL. To use private repositories, the account of the personal area needs to be connected to a GitHub account that has access to that private repository.

Currently private repositories are only supported on GitHub.
After the URL, the commit that is to be published is selected. To do this, one can click on the gear in the "GIT-Commit" line, click on the desired commit and confirm via "Select". The dialog offers the commits divided according to branches. If the desired commit is not displayed, more commits of a branch can be loaded with "Load more". Alternatively, the ID of the commit can also be entered manually. If the repository is not on GitHub, the dialog is limited and can only select a branch. The newest commit from that branch is automatically selected.

Localization provides names and descriptions of the module in one language. Multiple localizations for multiple languages can be added, but at least one is required. The module must be usable in all localized languages. Once a module has been published with a localization, this language must also be offered in future publications.
Clicking on "Add localization" opens a dialog in which the language of the new localization can be selected.
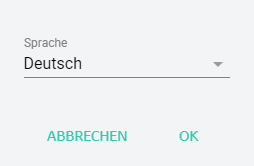
After the selection has been confirmed with "OK", a new empty localization of the selected language appears. A localization can be expanded with a click on the arrow on the right.
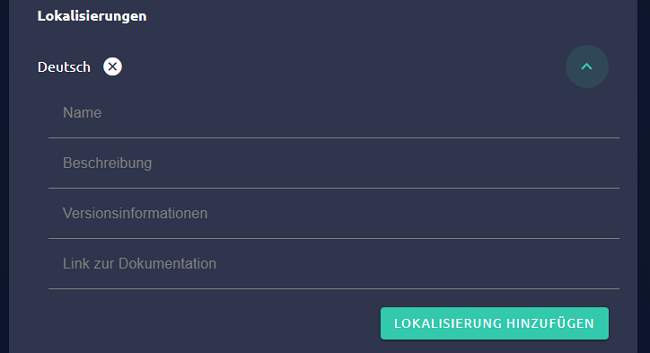
The following fields must be filled in for localization:
| Field | Description |
|---|---|
| Name | The displayed name of the module |
| Description | A description of the module |
| Version information | Information on what's new about this version |
| Link to documentation | A link to explain the module. This can be, for example, a readme in the repository or an explanatory post in the forum |
A localization can be removed by clicking on the X next to the language.
Finally, suitable categories are selected for the submission. Via "Add Category" a dialog appears in which a new category can be selected and confirmed with "Select".
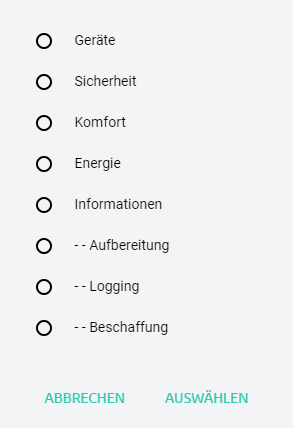
Categories can be removed by clicking on the associated X. At least one category is required for a submission, selecting multiple categories is also possible.
Below "Submission" further settings are possible.
| Setting | Description |
|---|---|
| Update includes no functional changes | This setting can be activated, if the current submission does not include any programaticcal changes that are relevant for the user, e.g., only the style was updated. The new version is not offered to users. The submission of non-functional changes can be helpful, to properly recognize the module as up to date |
| Close beta and testing channels after succesful review | If this setting is activated, all lower channels are closed after a succesful publication. Closed channels are not available in the Module Store any more. Users that are on a closed channel now, are forwarded towards the next highest channel for updates. This setting is not available if there are no publications on lower channels |
Finally, the current template offers three buttons. "Discard" will delete the template. If only the template exists for the module, the entire bundle will be deleted. "Save" saves the current status of the template. Not all elements are required to be filled in for this. A module without localizations and categories can therefore be saved, but not submitted. "Submit" is used to submit the module for deployment in the Module Store. The module is offered directly in the module store on the testing and beta channels. When submitting to Stable, the module goes through a review process by the Symcon-Team before it is published. If the module is accepted, it will be published in the Module Store. If it is rejected, one will be informed why the submission was rejected, both in the developer area and via e-mail.
Review
When reviewing a module, various points are checked on the basis of our Best Practices . These are the following points in particular:
- Does the module access local files and could read and manipulate them?
- Access to local files is permitted in exceptional cases, especially within the IP-Symcon folder. However, a more detailed check is carried out here in order to prevent misuse.
- Is there a corresponding translation for each localization of the module?
- Can the instances of the module be created without errors, even if not all requirements may have been met?
- Under all circumstances it must be possible to create a module as an instance. The module must therefore independently check whether the requirements are met. If the requirements are not met, this should be shown appropriately in the instance configuration.
- Does any communication via splitter/IO run as intended via the data flow via SendDataToChildren/SendDataToParent/ReceiveData/ForwardData?
- Does a module only access its own objects or ones that have been assigned to it?
- Own objects are below the instance.
- Using SelectVariable and similar elements, further objects can be assigned to a module, which may be used within the expected framework.
- External objects that have not been assigned to the module must not be manipulated.
- New objects may only be created outside of the instance if this has been explicitly confirmed by the user. A conforming example of this is the use of the "Configurator" configuration element.
- This also prohibits the creation of events to switch internal functions. For this purpose RegisterTimer or MessageSink and the associated functions are to be used.
- Deviations are possible with prior agreement. However, this should be discussed in a suitable place when submitting, for example by e-mail or as a comment at the relevant point in the code.
- Code quality or absence of errors are not checked during the review.
- "IPSymcon", "IPS" or similar may not be part of a name chosen in a localization.
- Modules that require more than the current stable version as a condition, e.g. ones that only work with the current beta, may not be submitted to the stable channel.
- Some object properties are in the sovereignty of the user even in the case of module-specific objects. These may initially be specified, but cannot be further manipulated without explicit confirmation from the user. These properties are:
- The name
- All visual settings: Show object, object active and icon
- The description
- The position
- All event-specific properties
- User-defined profile, user-defined action and logging of variables must never be set without explicit confirmation, not even initially! Action or profile can of course be defined using a standard action or profile.
- PHP files cannot use the short PHP-tag (<?) And should use the long PHP-tag (<?php) instead.
- After the initial creation of an instance, the user is in the sovereignty of the properties.
- If the module wants to change something here, other values can be specified via the dynamic function UpdateFormField and subsequently be confirmed by the user.
- Thus the functions IPS_SetProperty and IPS_ApplyChanges should never be used.
- If the parameter loadValuesFromConfiguration is set to false in a List or a Tree, the property still has to be filled in the interests of the user when loading. The parameter should only make it possible to adjust, for example, the order or to add new values in the middle.
- A submission requires a descriptive name, a suitable description and version information as well as a documentation that explains the configuration and use of the module.
- If configurators are connected to a splitter or I/O, they may only manage devices that are also connected to this splitter or I/O
- Instances, that are connected to the same splitter or I/O as the configurator, should be listed in the configurator regardless of whether they still exist physically
- Instances, that are connected to another splitter or I/O, must not be listed in a configurator with a splitter or I/O
- If a module offers a discovery instance, it must work without configuration
- Since logging can smoothly be implemented via $this->LogMessage and these messages are correctly linked to the sending instance, IPS_LogMessage may no longer be used for logging
Edit module
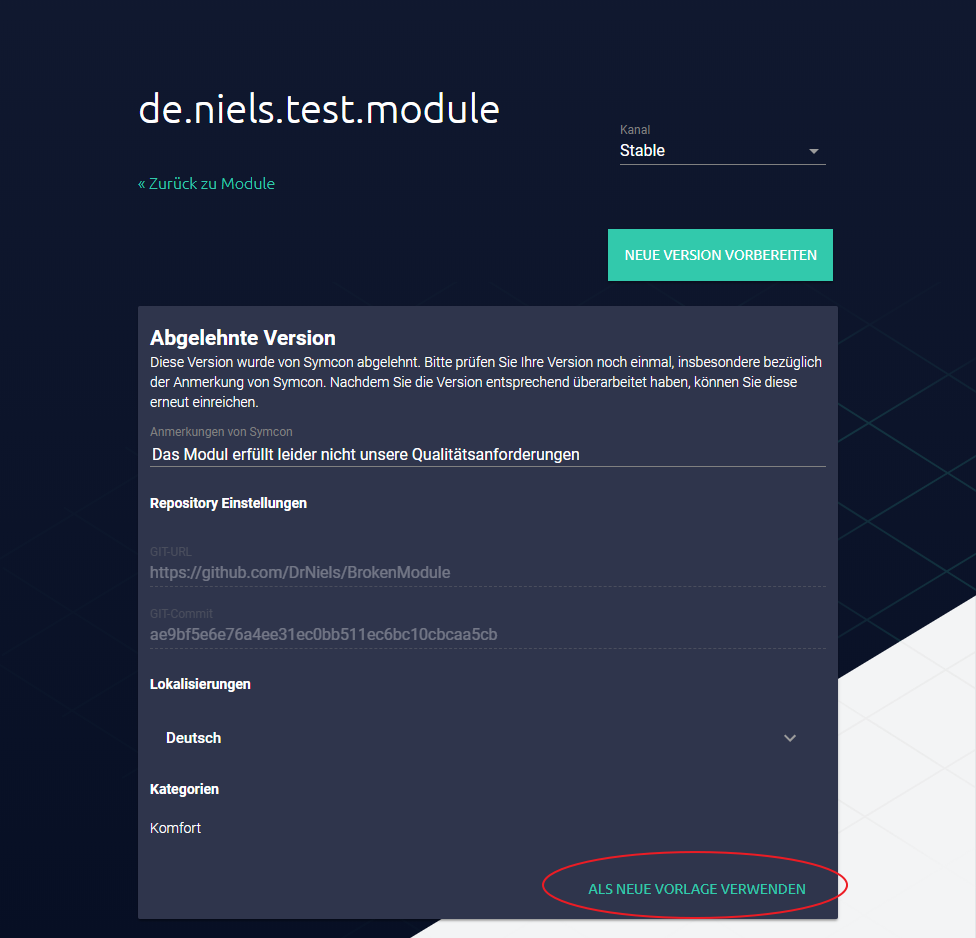
If there is no current template on a channel under "Edit module", a new template can be created by clicking on "Prepare new version". In the dialog one can choose whether one wants to create a completely new template or use a current publication as a template.

Alternatively, when publishing there is an option to move these to a higher channel. If a submission has been rejected, it can also be used as a new template to compensate for any deficiencies without having to configure everything from scratch again.
If a module, which is currently being reviewed, is to be withdrawn, this can be done by clicking on "Withdraw". If a module is in the module store, it can no longer be withdrawn.
Connect with GitHub
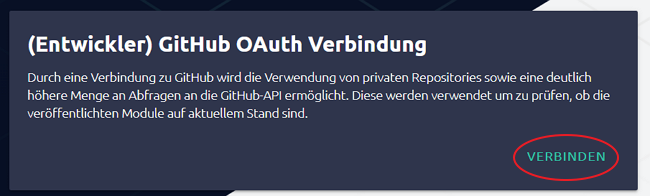
The account of the personal area can be connected to GitHub. This enables the use of private repositories as well as a significantly higher number of requests towards the GitHub API. This can be especially relevant for checking if published modules are up to date. The connection can be done in the Settings of the Personal Area. This is done by clicking "Connect" in the area "(Developer) GitHub OAuth Connection".
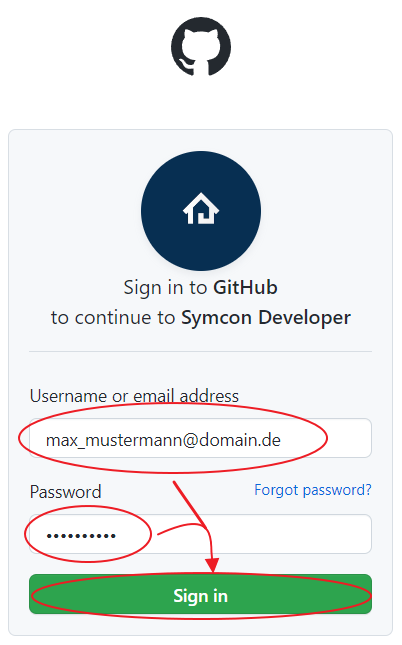
If no GitHub user is currently logged in within the browser, this is done within the next step. Here, the email as well as the password of the GitHub account need to be entered. If an account is already logged in, this step is skipped.
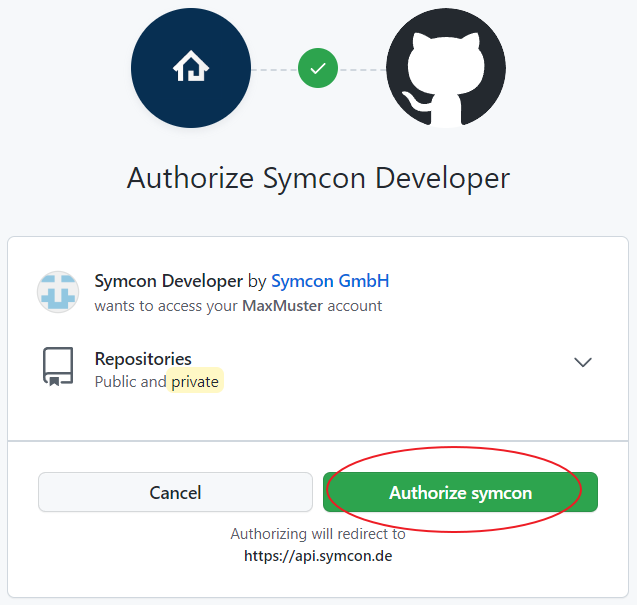
Finally, the access via Symcon needs to be authorized. This is done by clicking "Authorize symcon".
Now, the account from the personal area is connected with the GitHub account. The connection can be undone by clicking "Disconnect".