Documentation
Use links
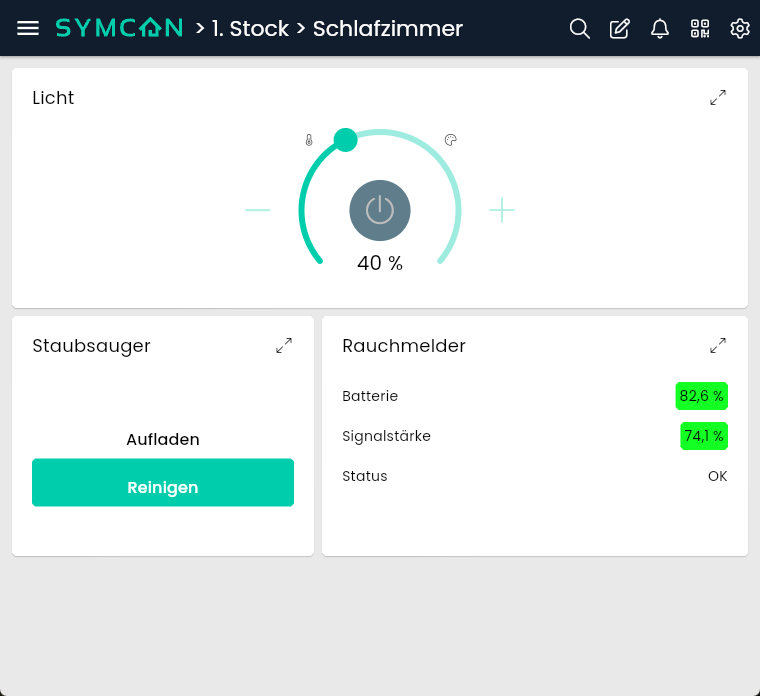
The following example illustrates the principle of Links. For example, a number of smoke detectors are installed and connected in a house.
For safety reasons, the smoke detectors are now to be checked every three months. An initial check was quite time-consuming. When structuring the visualization, the structure was sensibly designed according to floor -> room -> device. However, each room now has to be checked individually in order to check each smoke detector. This seems too time-consuming.
A category called "Smoke detectors" is now created next to the floors and all smoke detectors are moved to this category using "drag and drop".
Because all smoke detectors have been assigned to a new category in Symcon, they are no longer visible in the individual rooms in the visualization. Unfortunately, this means that the smoke detectors are now missing in the individual rooms in which they are installed.
Symcon offers the option of creating links to individual objects. To create these links, right-click on a selected object in the object tree - in this case, a smoke detector.
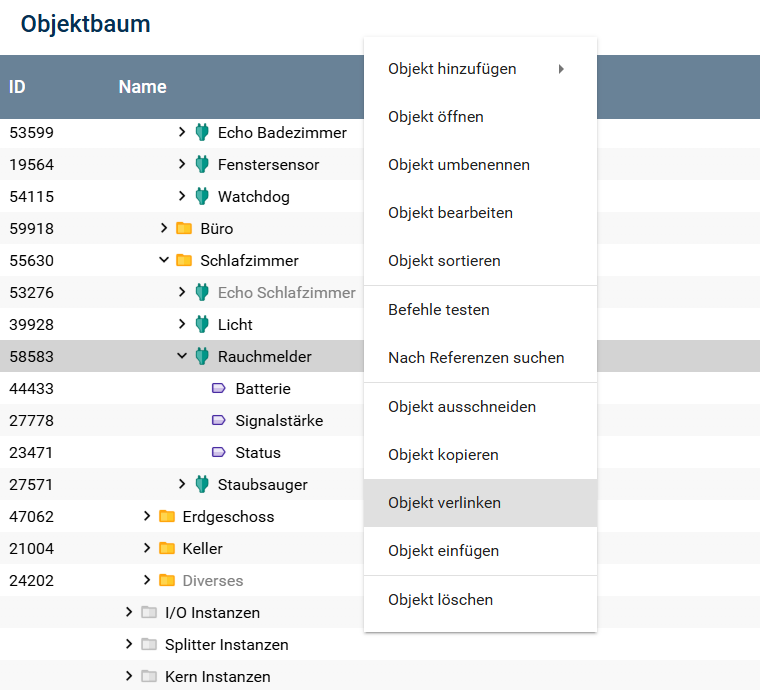
As soon as "Link object" is clicked, the object has been moved to the clipboard for linking. A link to the originally selected object can now be created anywhere in the object tree by right-clicking and selecting "Insert object". This can be repeated with all smoke detectors and the smoke detectors can be easily checked in the visualization without constantly clicking back and forth. Nevertheless, they can still be found in their respective rooms. In addition, links can be given their own name and icon by right-clicking on "Edit object".